
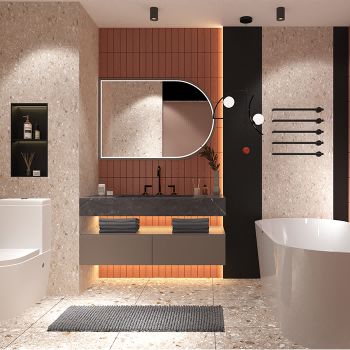
How To Tile A Shower Niche
A shower niche is one of the most practical details in a bathroom, but it is also one of the areas where installation quality is easiest to notice. If the tiling is uneven, poorly aligned, or not properly sealed, it quickly affects both appearance and long-term performance. That is why tiling a shower niche requires more attention than flat wall areas. It is not complicated, but it does require a careful approach from start to finish.
Why Shower Niche Tiling Needs Extra Care
Unlike a regular wall, a shower niche has multiple internal surfaces, edges, and transitions. Each of these points creates a place where water can collect or where tile alignment can become uneven. The goal is not only to make it look clean, but also to ensure water flows out easily and does not stay trapped inside.
This is especially important in daily use. A well-tiled niche should feel smooth, easy to wipe, and visually balanced. Poor tiling often leads to visible gaps, uneven grout lines, or water retention issues over time.
Preparing The Niche Before Tiling
Before any tile is installed, the niche must be clean, dry, and properly waterproofed. This step is often overlooked, but it determines how well the niche performs later. Waterproofing should cover all internal surfaces, including corners and edges, so moisture cannot reach the wall structure behind.
A pre-formed stainless steel shower niche can simplify this process. Because the structure is already sealed and stable, it reduces the risk of water leakage and provides a clean base for tile alignment. It also helps keep edges straighter and more consistent during installation.
Planning Tile Layout And Alignment
Tile layout is one of the most important parts of the process. Before fixing anything in place, it is better to dry-fit the tiles and check how they align with the surrounding wall. This helps avoid small cuts in visible areas and keeps the design more balanced.
Inside the niche, alignment matters even more. The back panel, side walls, and top edge should feel visually connected. A centered layout or symmetrical pattern usually creates a more professional look. Taking time at this stage often saves more time later.
Installing Tiles Inside The Niche
Tiling usually starts from the back wall of the niche, then moves to the sides, bottom, and top. Applying adhesive evenly is important so the tiles sit flat and do not shift over time. Each tile should be pressed firmly but gently into place, making sure it lines up with the planned layout.
One detail that makes a difference is the slope at the bottom of the niche. A slight downward angle toward the front helps water drain out instead of staying inside. This small adjustment improves both hygiene and maintenance in daily use.
Handling Edges And Corners Cleanly
Edges are the most visible part of a shower niche. If they are uneven or poorly finished, the entire installation looks less precise. This is why many installers prefer using a niche with pre-finished edges or a defined frame. It creates a cleaner transition between the niche and the surrounding tiles.
Corners also need careful attention. Consistent grout lines and smooth joints make the niche easier to clean and more visually consistent. Rushing through this part often leads to irregular gaps that stand out after installation.
Grouting And Final Sealing
Once the tiles are set and adhesive has cured, grout is applied to fill the joints. This step locks the tiles in place and gives the niche a finished look. The grout should be spread evenly and cleaned before it dries on the tile surface.
After grouting, sealing the joints helps protect against moisture and keeps the niche easier to maintain. In a wet area like a shower, this final layer adds long-term protection and reduces the chance of water-related issues.
Why Material Choice Affects Installation
The material of the niche itself can influence how easy the tiling process becomes. Stainless Steel Niches are often used because they provide a stable, corrosion-resistant structure. They are also easier to keep clean and less affected by long-term moisture compared with traditional built-in niches.
For many projects, this reduces installation complexity. Instead of building and waterproofing a niche from scratch, installers can focus more on tile alignment and finishing details, which improves overall consistency.
Conclusion
Tiling a shower niche is not just about placing tiles. It is about creating a clean, balanced, and water-resistant space that works well in daily use. Careful preparation, thoughtful layout, and precise finishing all play a role in achieving that result.
If you are planning a bathroom project and need a shower niche solution that is easier to install and more reliable over time, feel free to reach out to us. We can help you explore suitable options and provide guidance based on your project requirements.